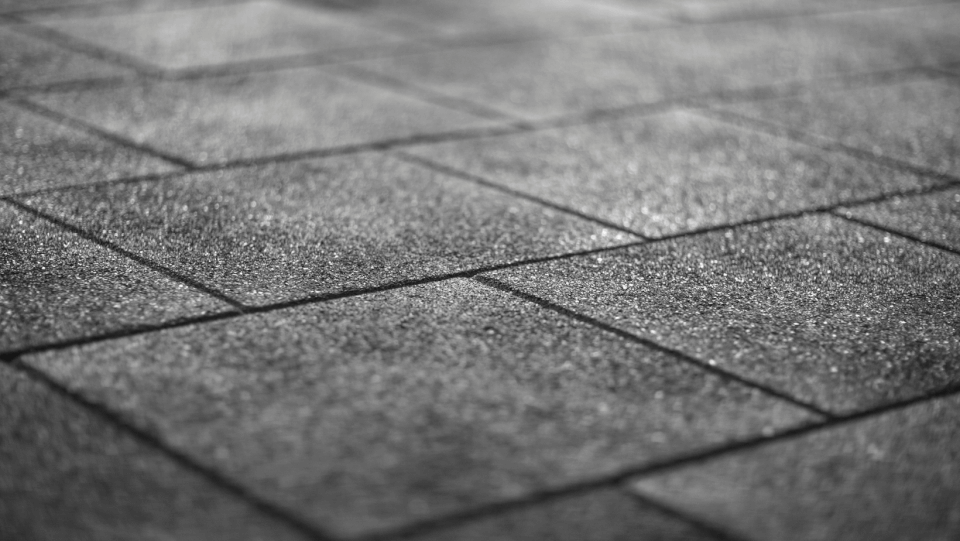
Installation rubber tiles
Tags: Onderhoud, Installeren

By installing the rubber tiles carefully and following the steps below, a stable and safe surface is created. Proper installation begins with thorough preparation of the subfloor, followed by the precise placement of the rubber tiles.
Steps for installing rubber tiles:
Step 1: Subsurface
Rubber tiles should be placed on a hard surface, such as concrete, roofing material, or compacted sand. Ensure that the surface is flat and firm before starting the installation. This forms the foundation for a long-lasting and stable floor.
Step 2: Measuring
Accurate measurements are crucial to ensure that the rubber tiles fit well and to accommodate any expansion or contraction caused by weather conditions. Take environmental factors into account and leave enough space for movement. This prevents the tiles from warping due to temperature and weather changes.
Step 3: Laying in Half-Brick Pattern
Choose the half-brick method to ensure a stable tile layout. Start with a half tile and place the next tiles so that they are positioned halfway over the joints of the previous row.
Step 4.1: Pin-and-Hole Connection
Each rubber tile has four holes on two sides. Insert four plastic pins into these holes to connect the tiles together. This enhances stability and prevents shifting, especially in high-traffic areas.
Step 4.2: Gluing
Ensure the ambient temperature during gluing is at least 8°C. All rubber tiles should be glued together along the seams to form a uniform and stable surface. The tiles should be glued with the grooves facing down. Make sure the distance between the grooves does not exceed 8 cm to ensure optimal adhesion. Place the tiles on a dry, dust-free surface to promote good bonding. Work in the direction of the drain or slope so water can flow away beneath the tiles.
Step 5: Cutting and Sawing
Use a ruler or straightedge to mark the desired size. Moisten the blade edge for smooth cutting. For straight cuts, use a handsaw, jigsaw, or utility knife. For more complex shapes, a jigsaw is the preferred tool.
Step 6: Directional Arrows on Artificial Grass Tiles
When installing artificial grass tiles, always pay attention to the arrow direction indicated on the underside of the tiles. This ensures the grass fibers all lay in the same direction, giving the floor a natural appearance.